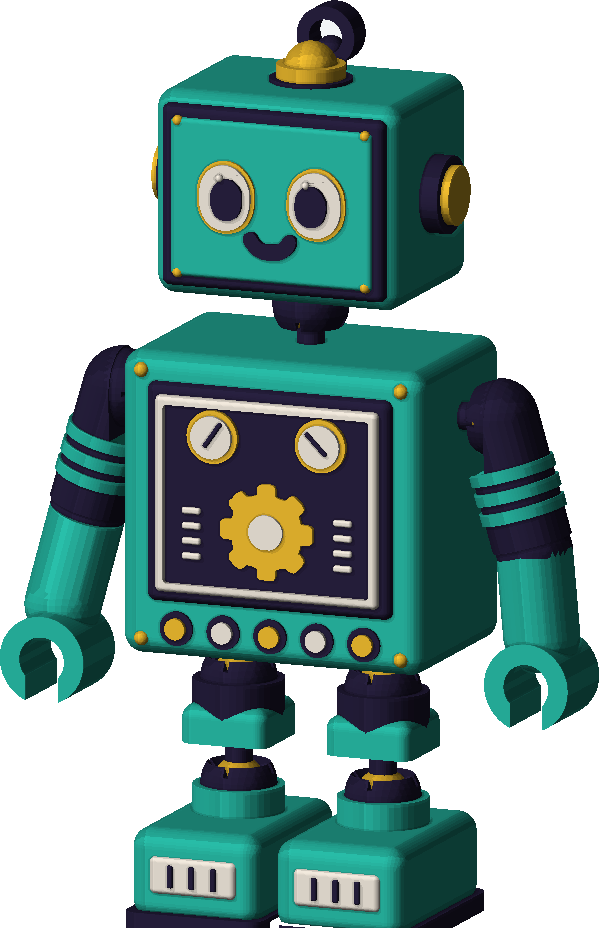
Behind the scenes at the Lab
How a toy is made
Follow the Lab robot from an idea on paper to a toy in a box. Press play, tap a step or slide the timeline.
-
Step 1 of 7
The idea
Every toy starts as an idea. Sometimes it is mine, sometimes a kid tells me one at my market table, and sometimes somebody types it into the Imaginator. First we sketch it and ask the big question: what should we make?
- 0molds needed. A 3D printer just needs a file.
- ~2 minfor the Imaginator to draw an idea in 3D
- 1 robotthe Lab’s own, our example toy today
-
Step 2 of 7
The 3D model
Next the idea becomes a 3D model: a shape on the computer made of lots of tiny flat triangles. Watch the robot change from a see-through wireframe into a solid one. You can drag it to spin it around.
- 1000stiny triangles make up the robot’s 3D model
- 1 fileis all the printer needs to start
- 360°a model can be checked from every side
-
Step 3 of 7
Slicing
A computer program called a slicer chops the model into super-thin layers, like a stack of pancakes, and plans the path the nozzle will follow on every single layer. It sounds boring, but it is secretly the most important part.
Here we draw 36 fat layers so you can see them. A real print has many more, much thinner ones.
- 0.2 mmis about how tall one layer is
- < 2 sheetsof paper: one layer is thinner than that
- 1 pathplanned for the nozzle on every layer
-
Step 4 of 7
Picking colors
Our robot is four colors: teal, navy, gold and cream. Each color is its own spool of filament, a long plastic string wound up like really thick fishing line. The spools sit in the AMS, an automatic material system that feeds the printer whichever color it needs.
- 4spools fit in one AMS
- 4colors in the robot: teal, navy, gold, cream
- PLAmost of my toys: a plastic made largely from corn starch
-
Step 5 of 7
Printing, layer by layer
The printer pulls the filament into its hot end, melts it, and squeezes it out of a tiny nozzle, like a very precise hot glue gun. It draws one layer, moves up a hair, and draws the next one on top. Slide the timeline and watch the robot grow from the plate up.
- ~220 °Cin the hot end, where the plastic melts
- < 0.5 mmwide: the nozzle opening
- 0%of the robot printed so far
-
Step 6 of 7
Color swaps
When the robot needs a new color, the AMS pulls the old filament back and pushes the new one in, all by itself. There is still a bit of the old color inside the nozzle, so the printer squeezes it out into a little blob before it carries on. Kids call it printer poop. Yes, really.
- Autothe printer swaps colors by itself, mid-print
- 1 blobof purged plastic comes out with each swap
- 0color swaps in this animation so far
-
Step 7 of 7
Cooling, checking and packing
When the last layer is done, the plate cools down and the toy comes off. I check it, give it a tag, and it goes in a box, off to the shop or to my market table. Then the printer is ready for the next idea. Maybe yours!
- By handevery toy gets checked before it leaves the Lab
- 1–3 daysprinting time after you order online
- Next?the printer is ready for a new idea
It really happens in Austin
The 3D story above is a simplified picture: fewer, fatter layers and a cartoon printer, so you can see what is going on. Here is where it happens for real.
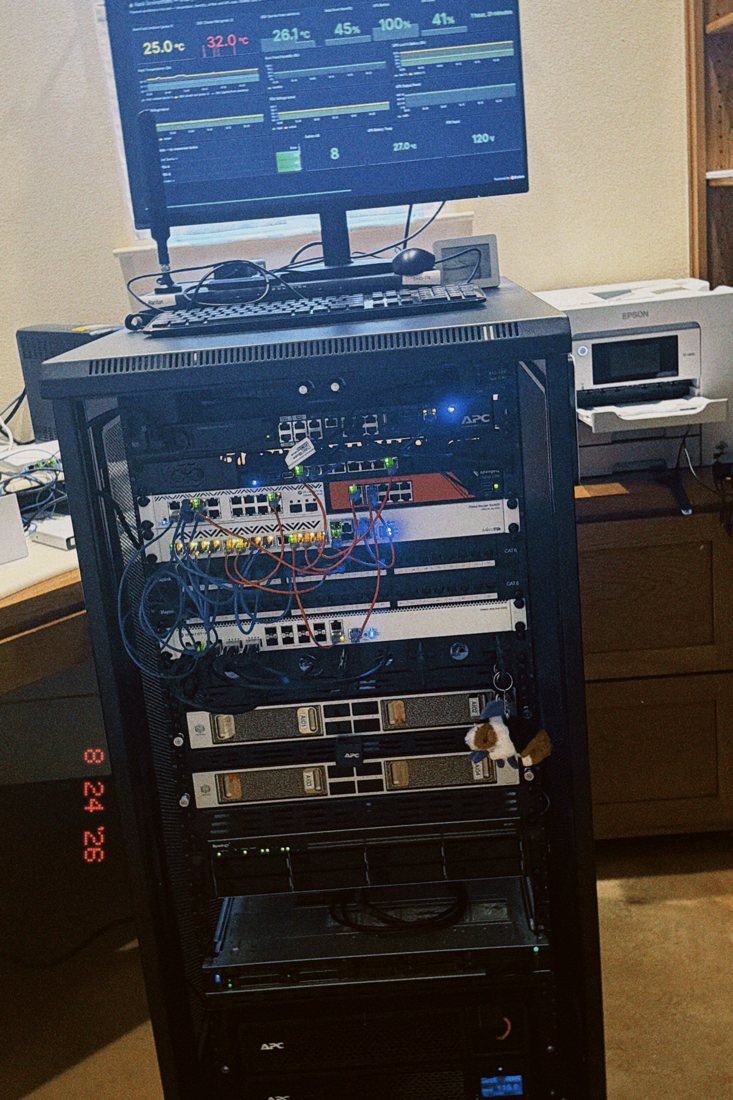
Norman, the Lab’s rack 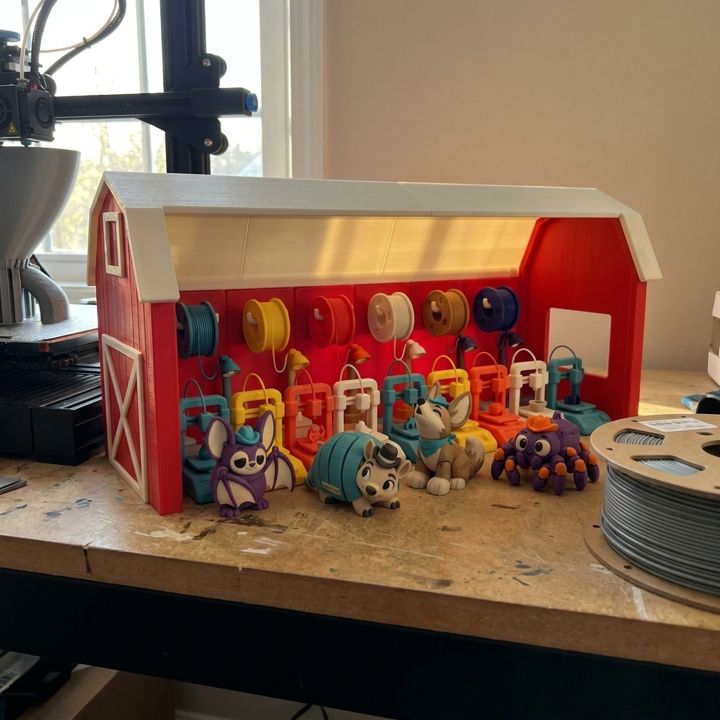
The Printer Ranch 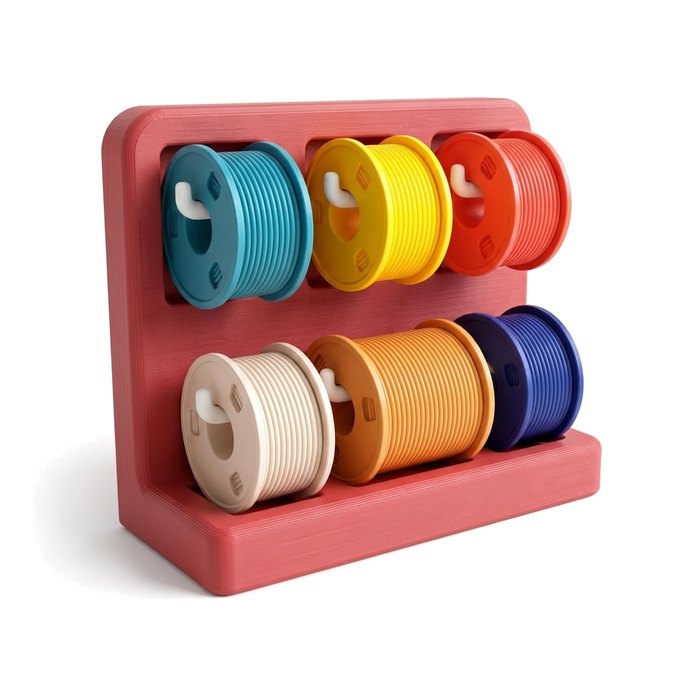
Four spools, four colors